


This month marks the second installment in a three-part series highlighting key components of a GraniteCrete installation. This month, we highlight proper compaction during the installation process. Proper compaction is critical to creating a lasting, strong installation; without it, GraniteCrete will not reach its full strength, and the surface will degrade before its time.
How to Properly Compact GraniteCrete
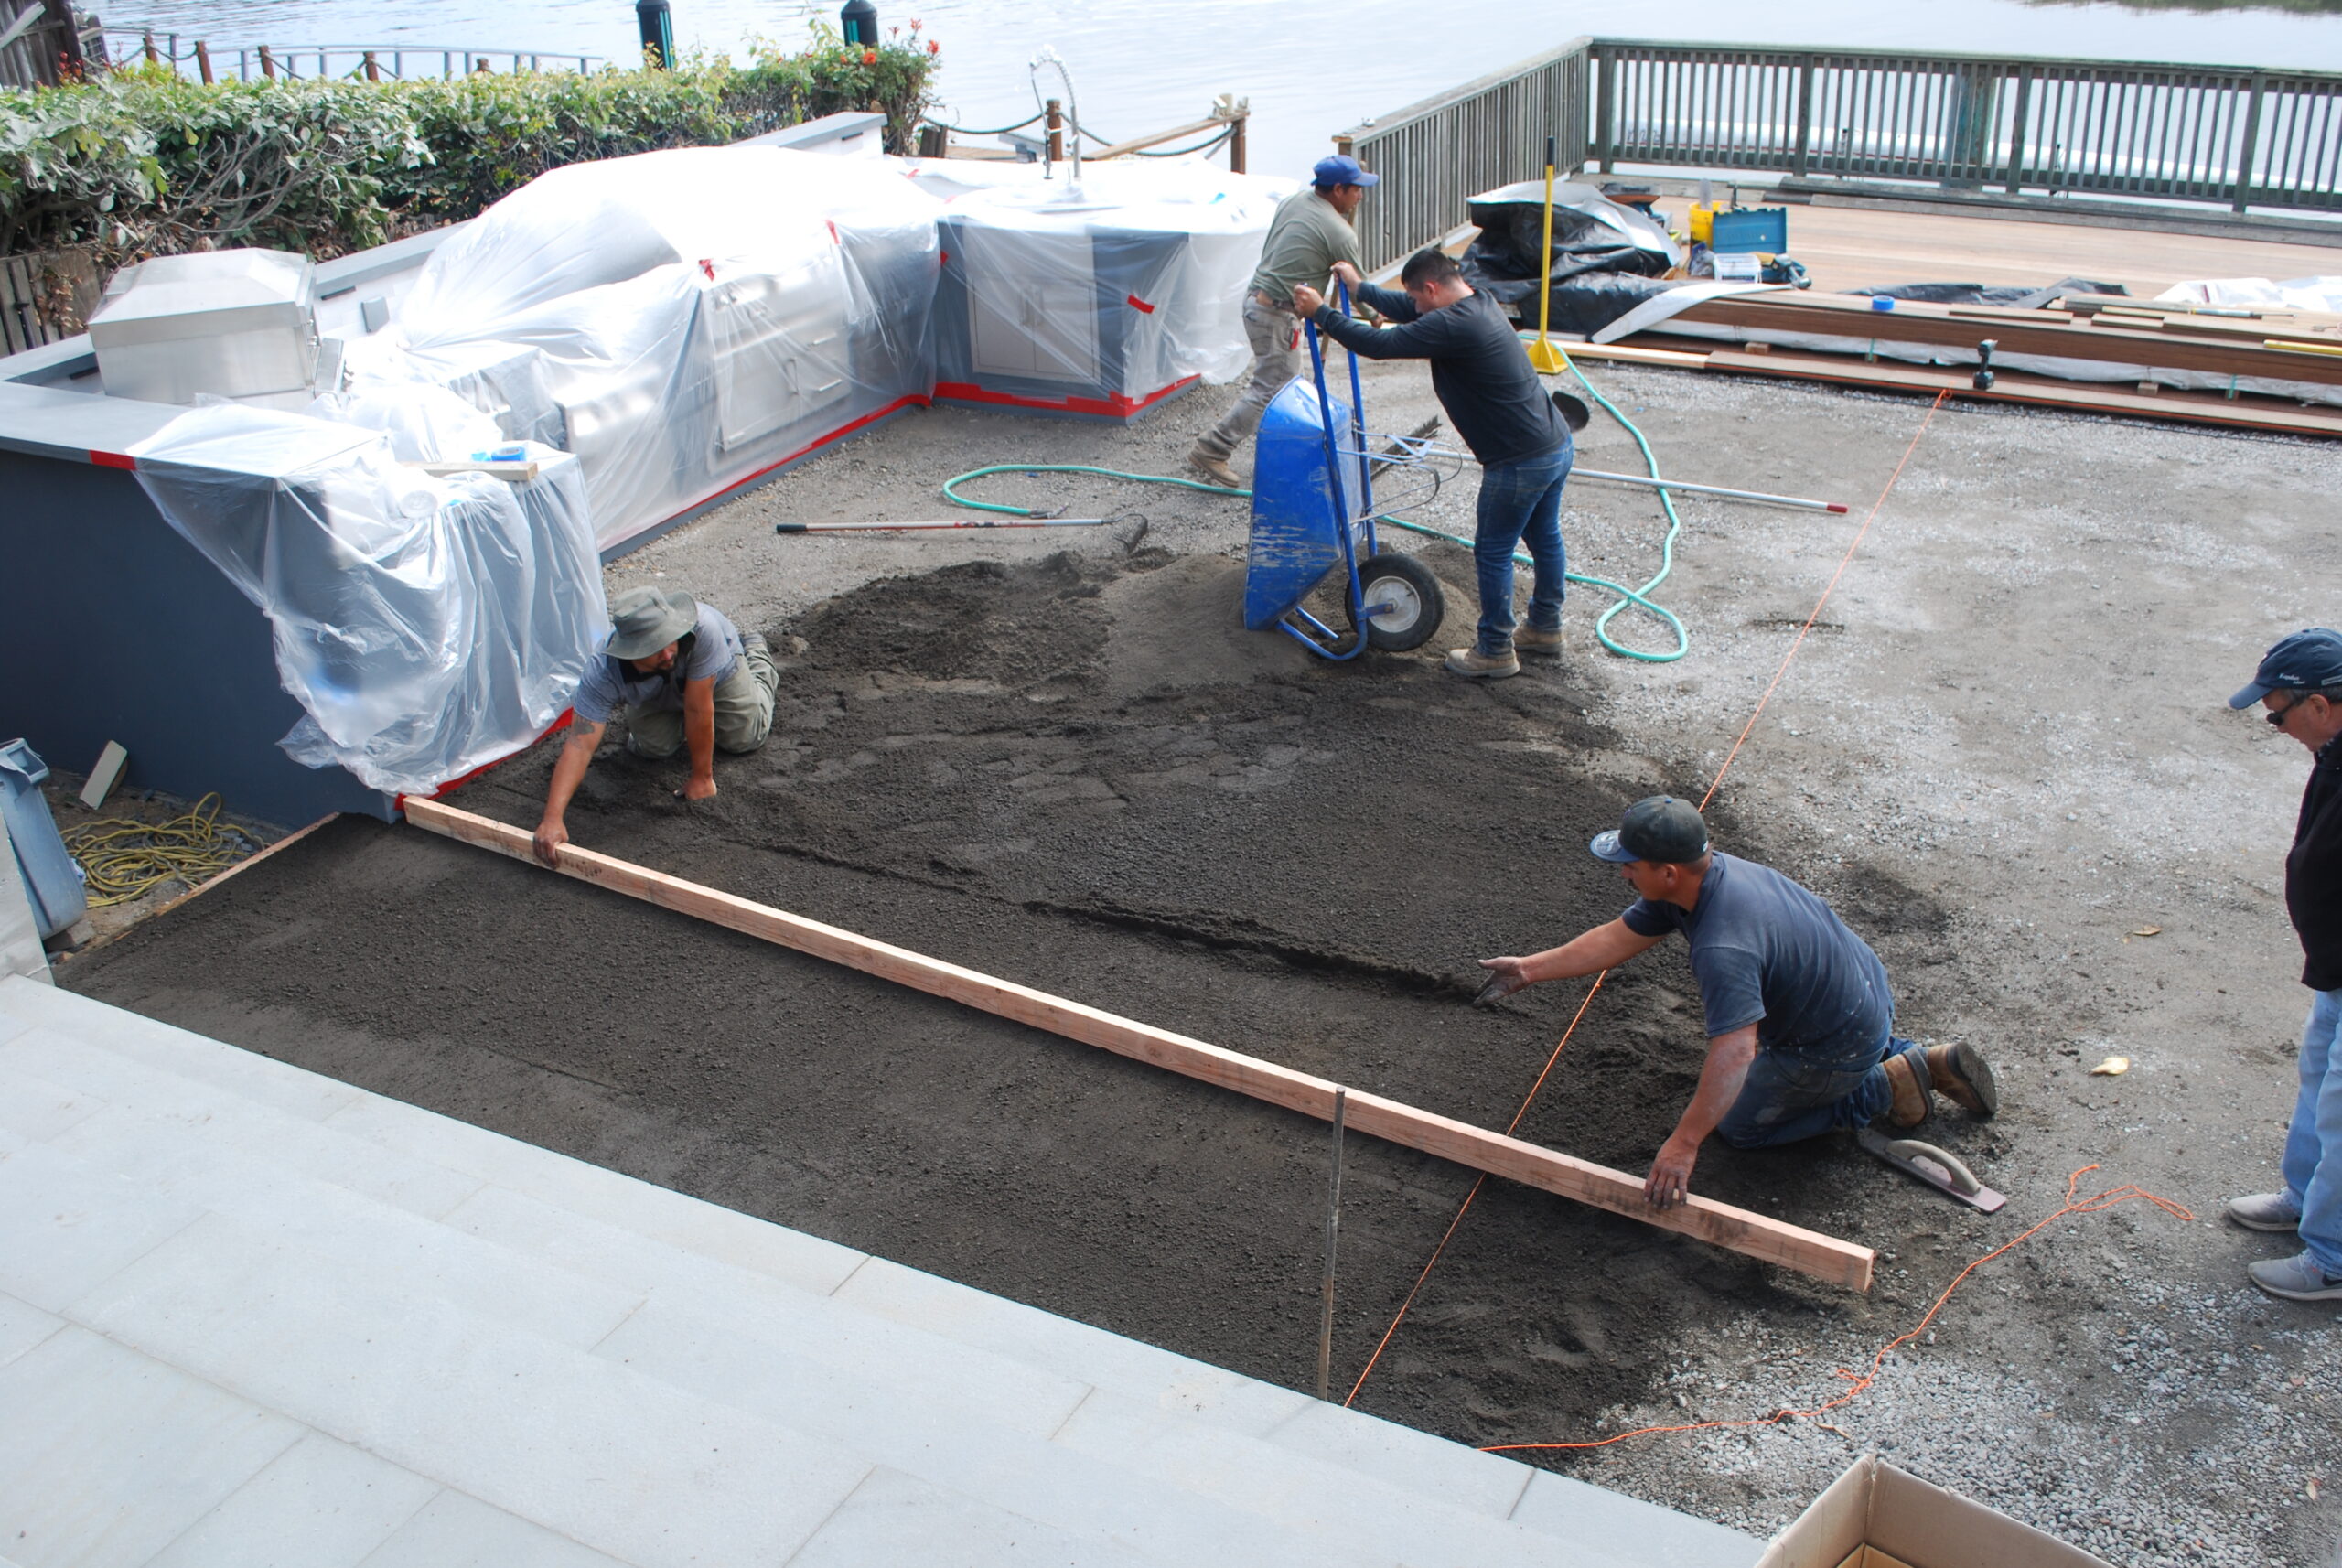
Before compaction begins, it’s important to set-up a good screeding process to ensure the material is level. Keep in mind that GraniteCrete compacts approximately 25%, so your screeding process should account for that. The finished grade should meet specifications, as additional GraniteCrete cannot be added on top of a compacted lift.
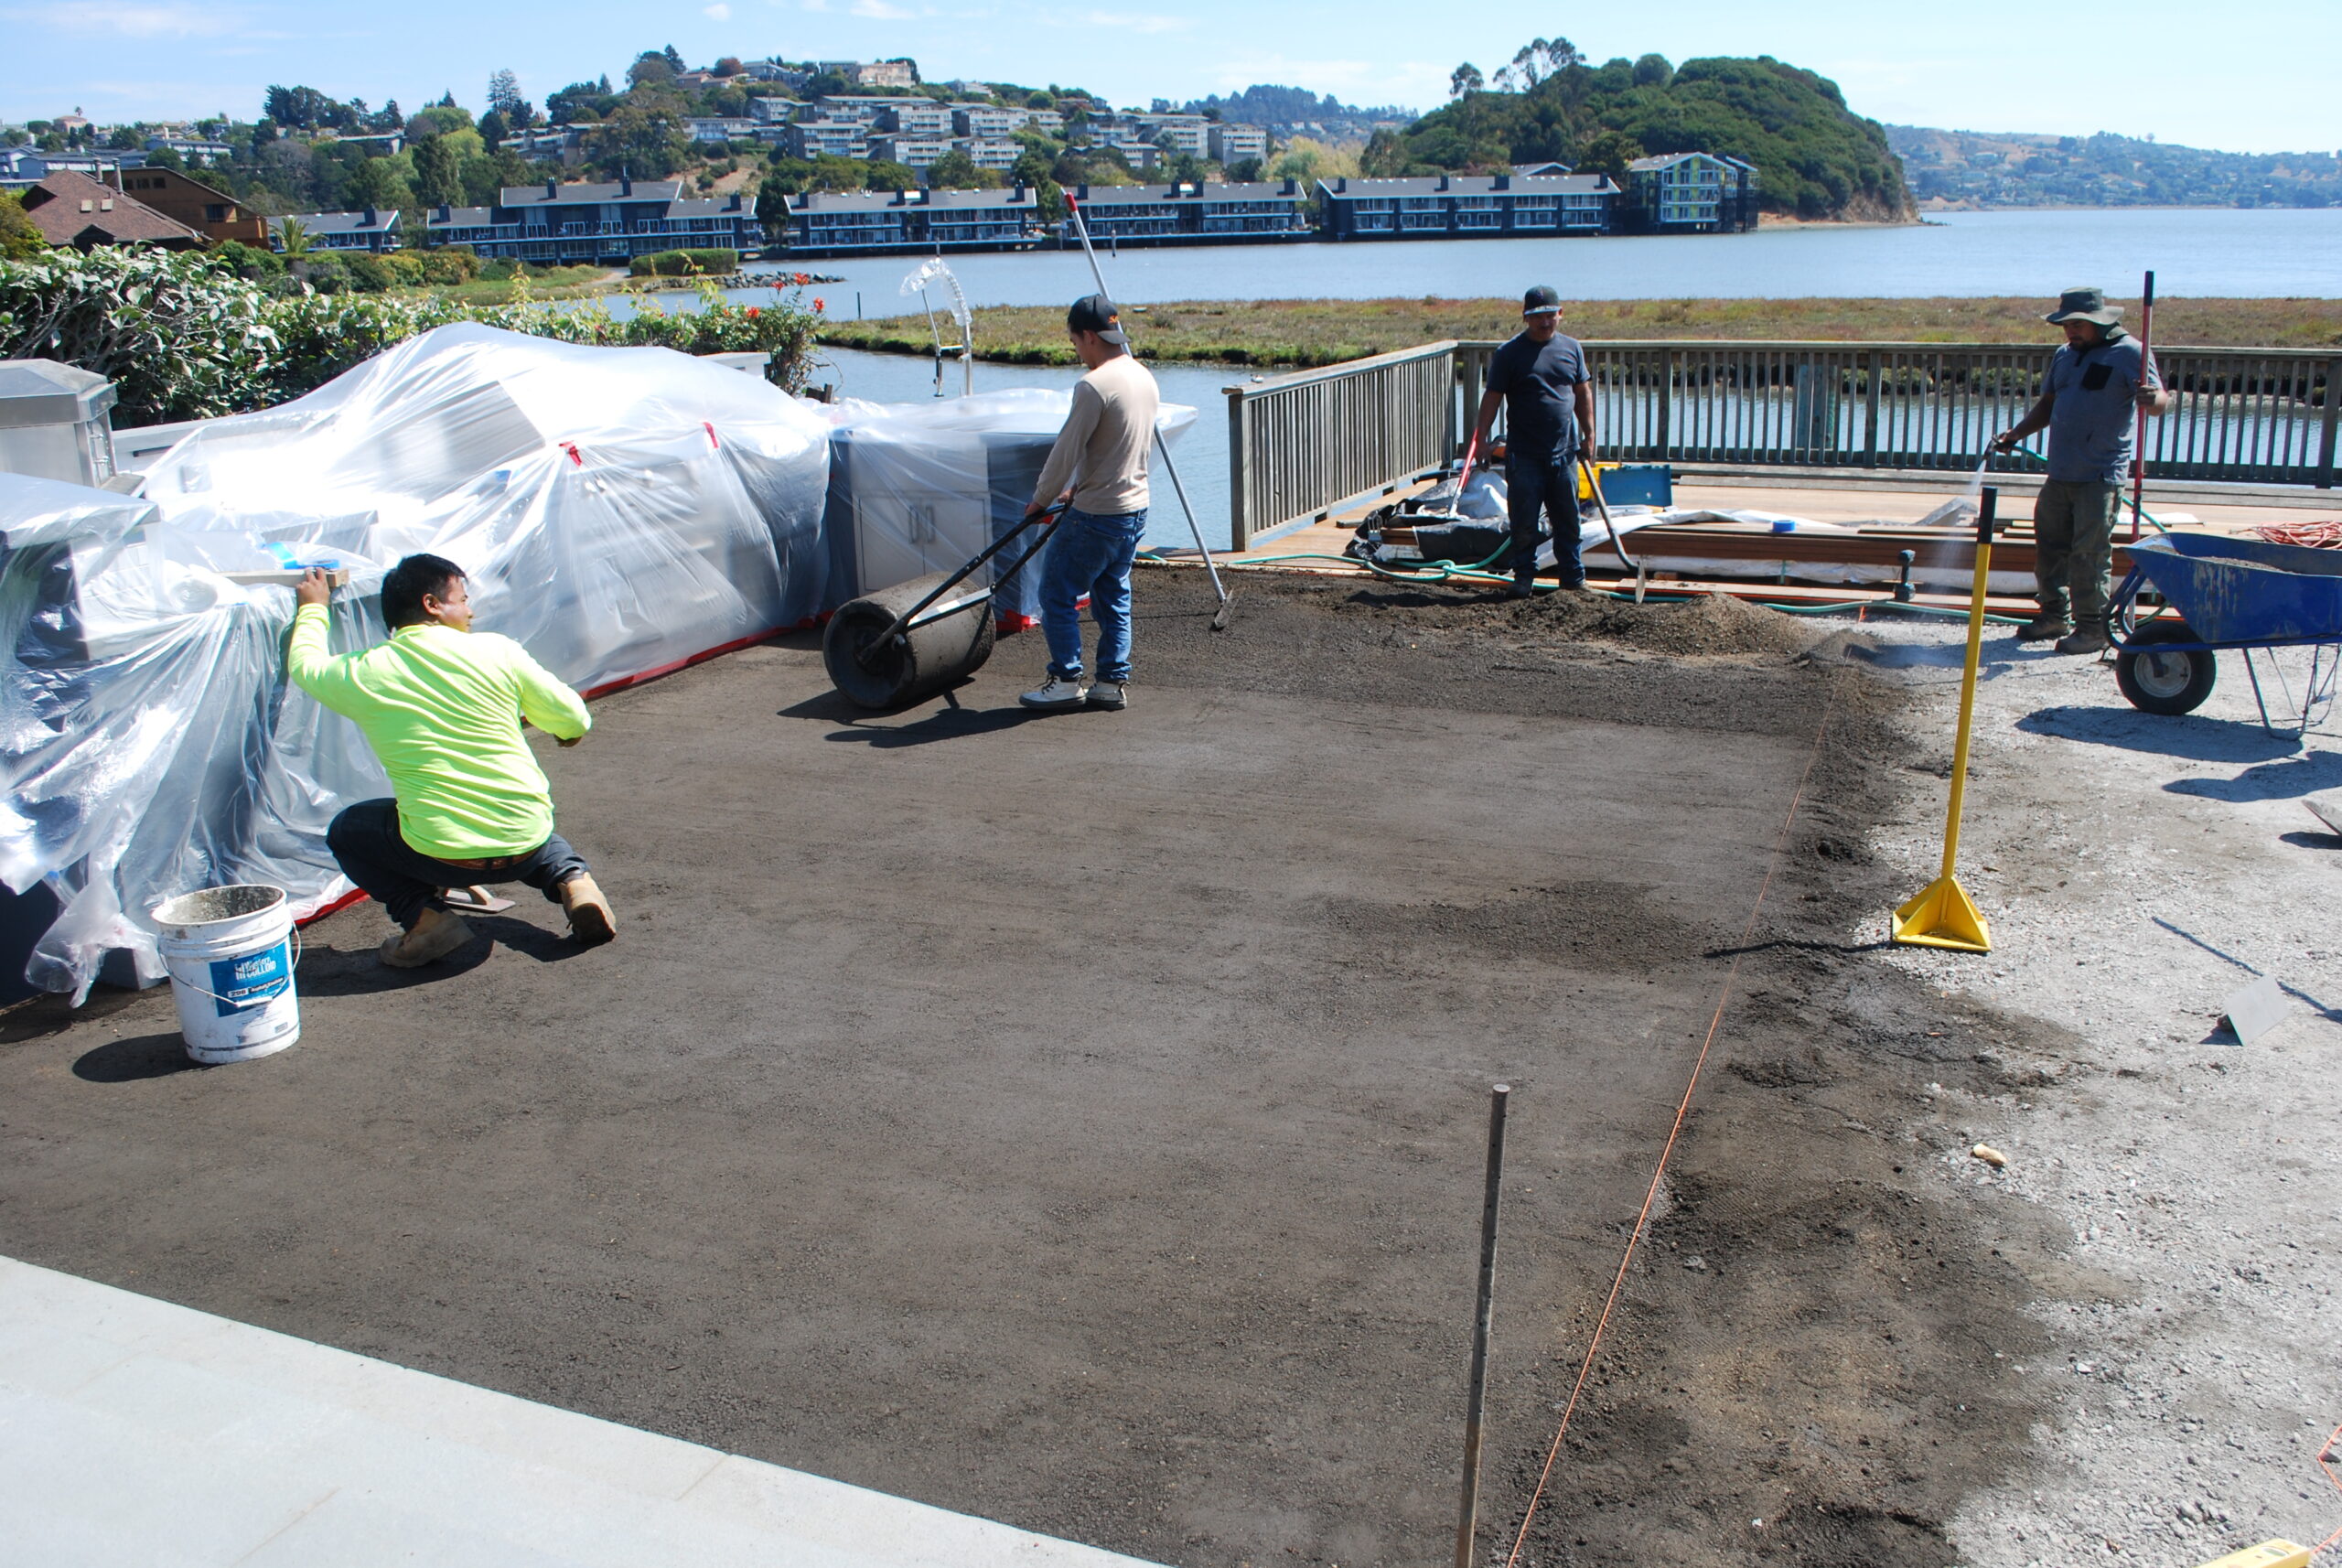
GraniteCrete should not be allowed to dry prior to compaction. Compaction should be completed using wooden or steel floats, hand tamps, and a 36” walk-behind or riding drum roller in static mode.
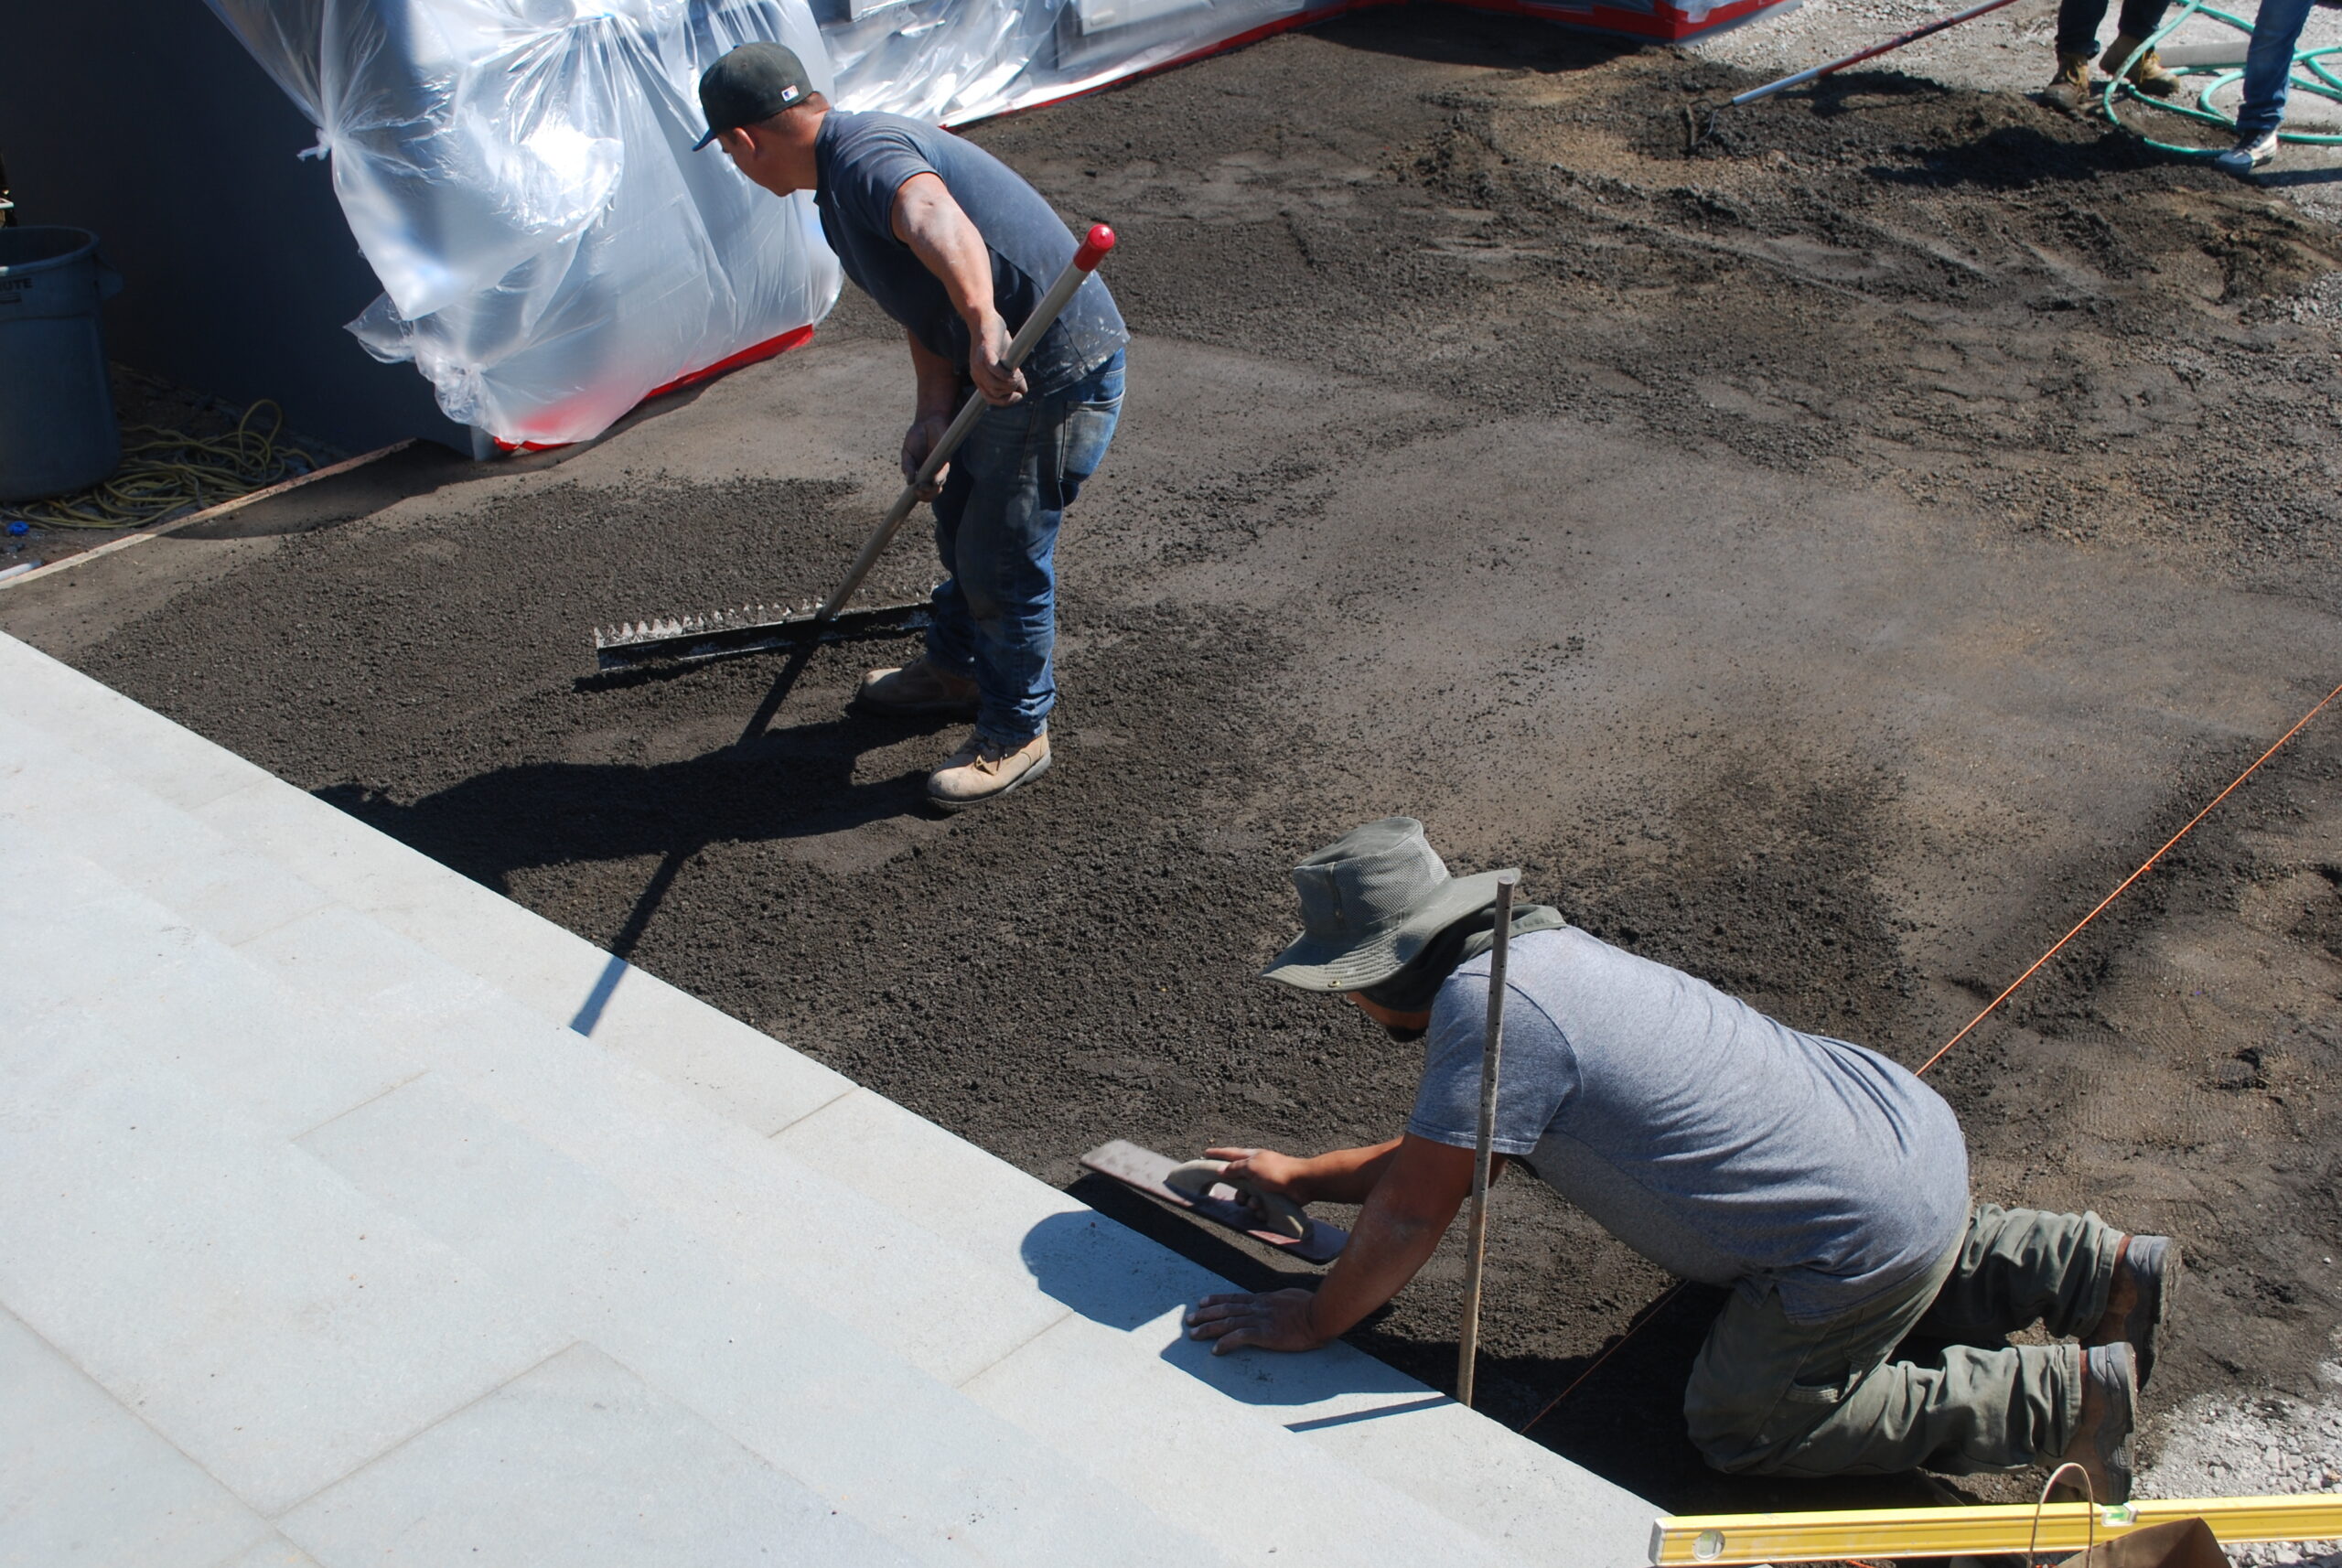
Once screeding is completed, start compacting the edges, corners, and any areas that the drum roller cannot reach, paying particular attention to grading while compacting. Hand tamping should be done around benches, sign posts, corners, boulders, and other obstacles using a 10” hand tamp.
Particular attention should be given to corners and edges to ensure tight compaction. A 6” wooden masonry float can be used in narrow spaces; it can also be used in a slapping/pounding motion to eliminate ridges, maintain consistent grading, and finish.
For larger areas, several passes can be made using a 36” walk-behind or drum roller in a static position. Installers should wear flat-soled work boots when using a roller to avoid marking the final finish.
If divots occur in the surface during compaction, they can be filled with fresh, loose material (with larger stones removed) and compacted using a wooden float to match the surrounding surface.
All tools — including hand tamps, floats, and rollers — should be kept clean throughout the process.
Once compaction is complete, it’s important to repair grading issues immediately, as the product will harden within minutes once it’s compacted.
Assessing Compaction
A consistent compaction rate of 88%–92% is required for all applications. A properly compacted surface will be firm, smooth, and free of loose or pebbled material. Non-compacted — or poorly compacted — GraniteCrete will result in a loose top layer and can compromise the overall quality of the installation. An easy way to see if proper compaction has been achieved is to press your thumb on the material; it should feel solid to the touch, with no movement. If there is any movement, continue compacting the material.
Proper compaction is the second critical step in any GraniteCrete installation. Next time, we’ll build on this foundation as we turn our focus to the next essential element: Curing.